Step-by-Step: Adding Custom WordPress Taxonomies
Built-in WordPress taxonomies like tags and categories are indispensable for organizing content effectively, but if they’re used for absolutely everything, your backend can quickly become chaos. The most practical solution for this problem is to create custom taxonomies, and one of the best tools to help you with that is Advanced Custom Fields (ACF).
Creating a custom taxonomy is much like using tags or categories, but you get total control of the labels (e.g., brand, color, size) and where to use the taxonomy. You can register your custom taxonomies to posts, pages, or custom post types or assign them into (nested) categories. Or even both, if that is required. If this is something you need, keep reading because this guide will break down the steps to build a customized taxonomy management process using ACF. This includes:
- Setting up taxonomies.
- Tackling advanced configurations.
- Building more sophisticated content relationships.
- Maintaining performance and scalability.
Whether you’re managing a blog with intricate tag systems or a multi-faceted eCommerce site, this guide equips you with the tools and techniques to optimize your taxonomies for better usability, efficiency, and growth.
Setting up ACF taxonomies
Generally, there are two ways to set up additional taxonomy fields in WordPress: By coding them and by using a plugin like ACF. As always, custom code gives you more control over everything, but it’s also more complicated and requires extensive technical knowledge. ACF, on the other hand, is much more user-friendly and still offers many different options. Still, if you want to see how to do it, we recommend checking out this post about coding custom taxonomies in WordPress.
Before we begin, however, let’s start with:
WordPress taxonomies: Default vs. custom
By default, WordPress provides two main taxonomies: categories (hierarchical) and tags (non-hierarchical). While they work well for basic use cases, they’re often not enough for more complex content management.
For instance, imagine you’re running a movie database. Instead of cramming every genre or age rating into the tags, a custom taxonomy like “Genre” could better categorize films, especially when paired with metadata like release year or ratings. This will make it easier to manage the database and find specific pieces of content, or help your users filter to see only films with a certain rating or made in a specific year.
Creating ACF taxonomy fields
Follow these steps to register and configure a taxonomy field:
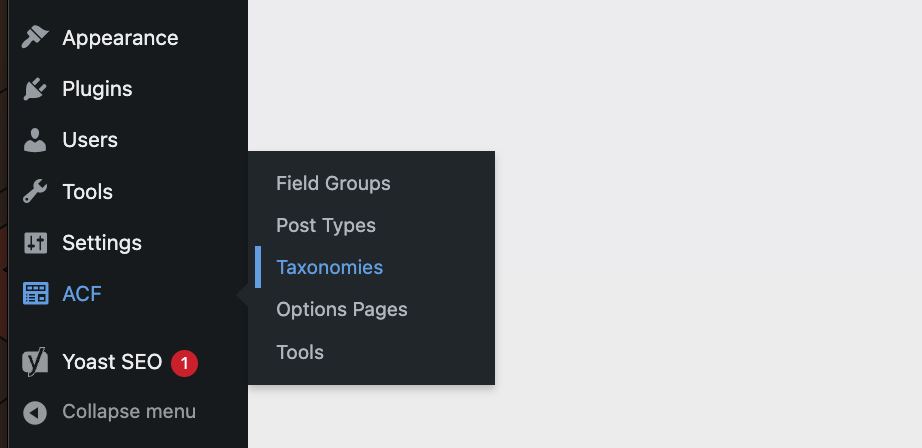
Go to the WordPress admin dashboard and select ACF > Taxonomies.
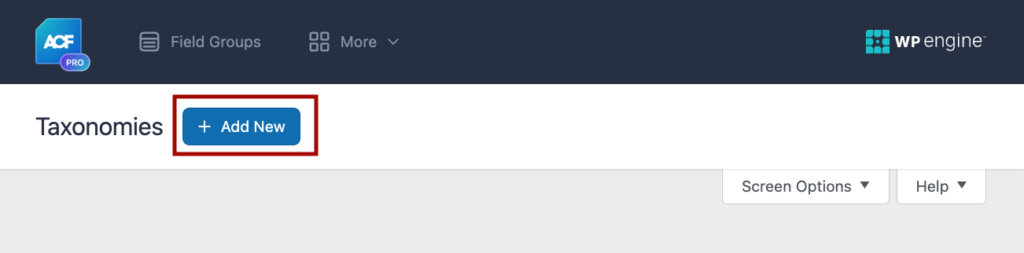
Click Add New.
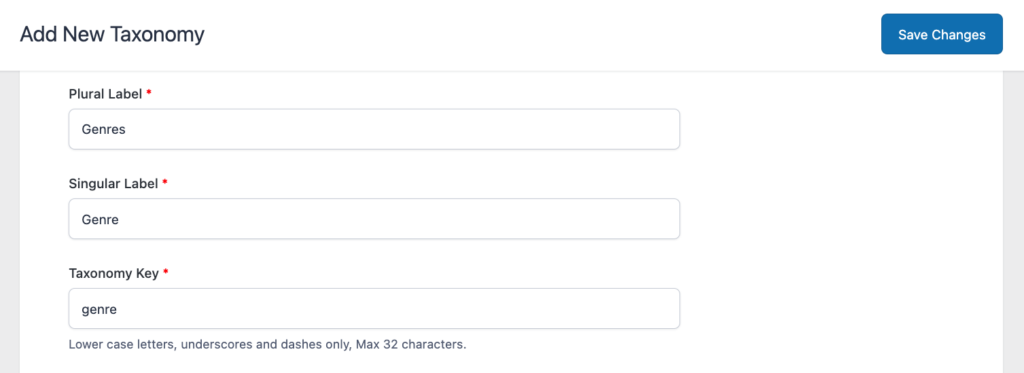
You’ll see fields for essential settings like “Singular Label,” “Plural Label,” and “Taxonomy Key.” These labels determine how your taxonomy appears in the admin UI.
Choose the post types (e.g., posts, pages, or custom post types like “Movies”) to which you want the taxonomy to be linked. This ensures your taxonomy is usable within those content types.
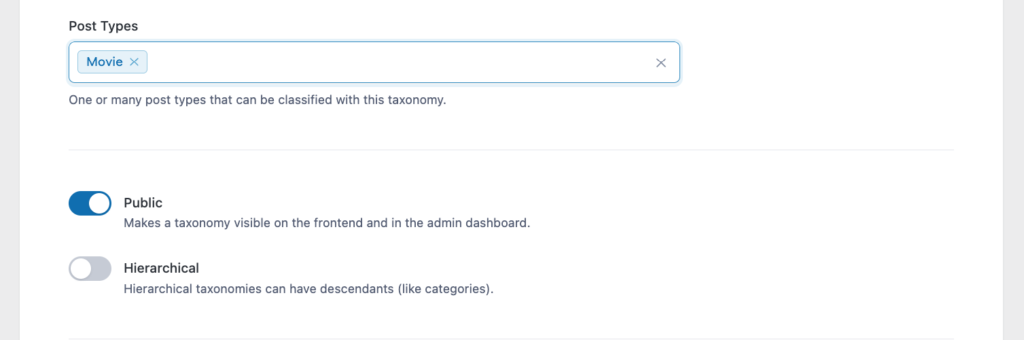
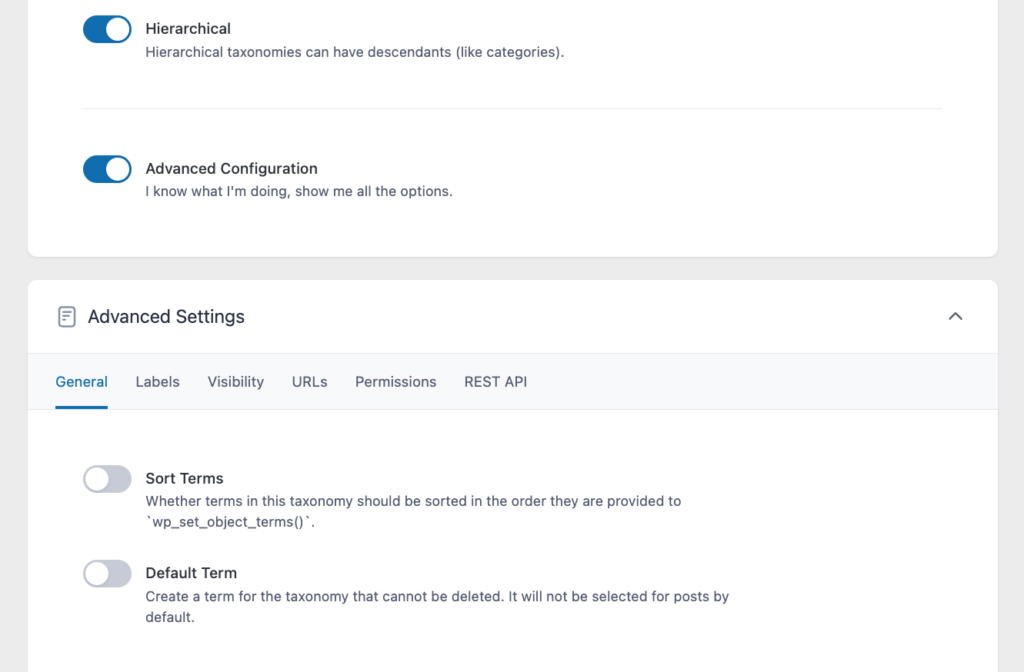
Scroll down to unlock features like hierarchical organization – allowing parent-child relationships. This is especially useful if your taxonomy needs nested terms, such as “Movie Genres > Action > Superhero.”
Once the taxonomy is saved, you can attach custom fields to it. For example, adding fields like “Average Rating” or “Number of Reviews” allows you to associate additional data with each term.
When configuring your taxonomy field, pay attention to these important settings that affect how your field works:
If you add a Relationship field to the taxonomy, you can set up bidirectional relationships from the Advanced tab.
Creating bidirectional relationships between, say, movies and genres, means that when you view a movie, you can instantly see all the genres it’s associated with, and when you click on its genre, you’ll see a list of movies in that genre.
How to add custom fields to taxonomies with ACF
Adding custom fields to taxonomy terms lets you store extra information beyond the basic term name and description. For example, if you run a movie site, you might want to add an image field to your “Genre” taxonomy to show iconic visuals for each genre, or add a color picker field to create visual themes for different film categories. Regardless of what type of taxonomy you’re using – be it categories, tags, or a custom taxonomy – using ACF to add custom fields to your taxonomy terms makes your taxonomies much more powerful and useful.
Here’s how to set this up:
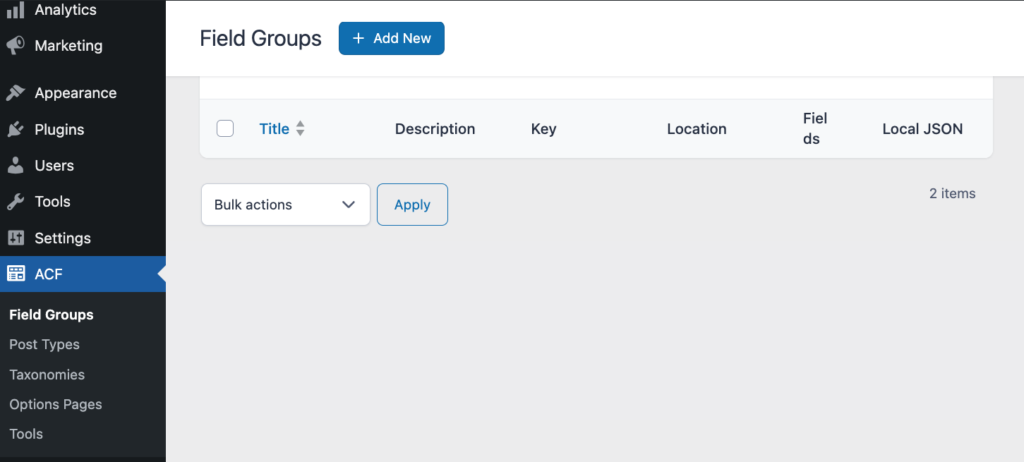
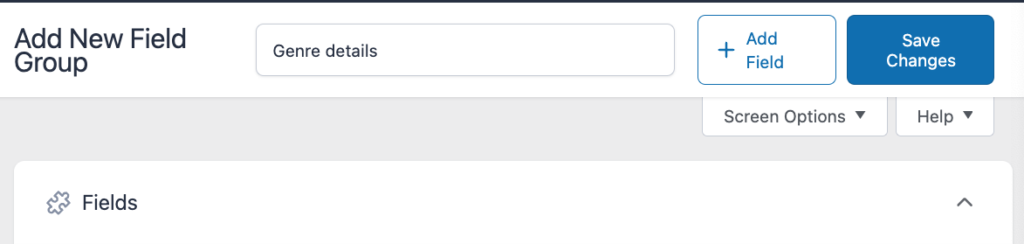
From your WordPress dashboard, head to ACF > Field Groups > Add New.
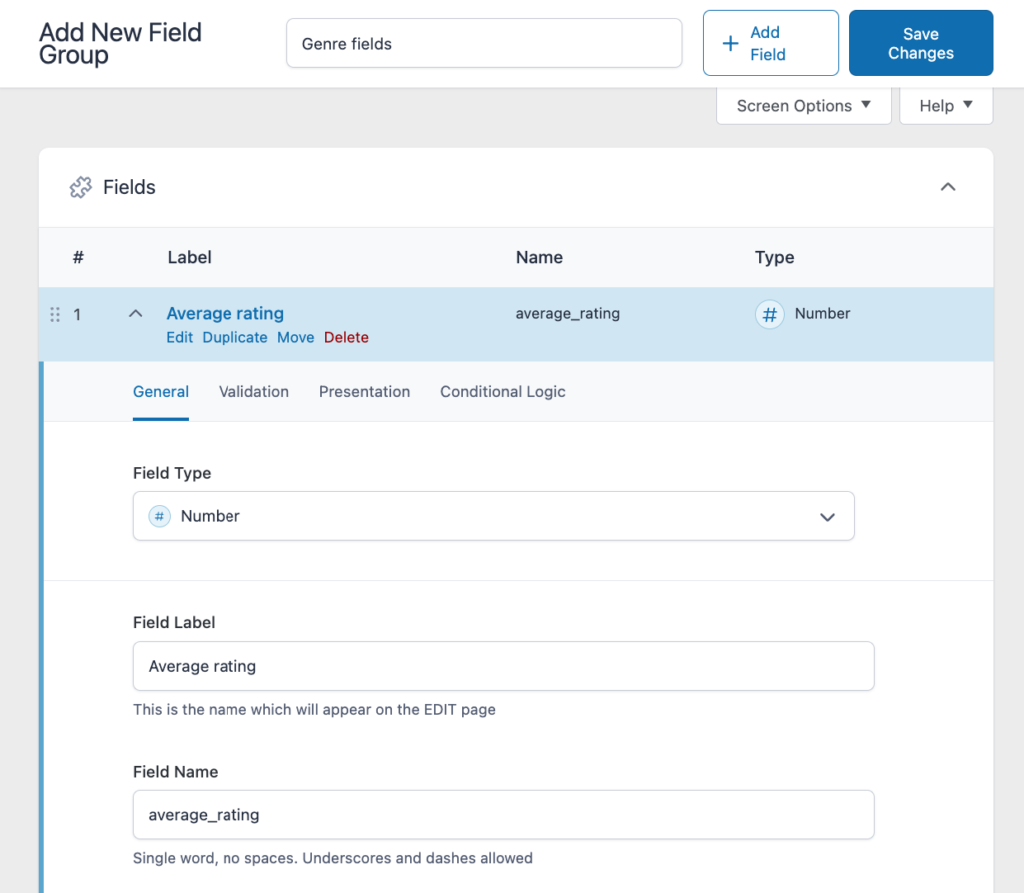
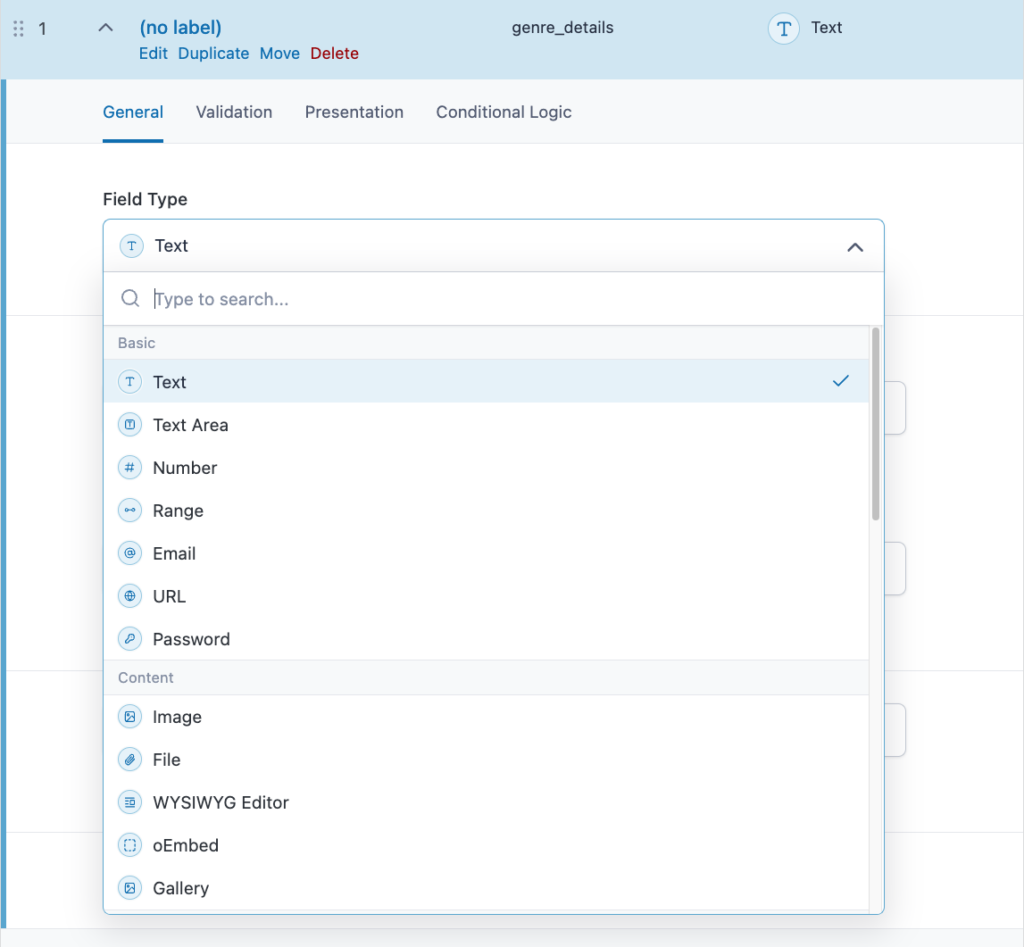
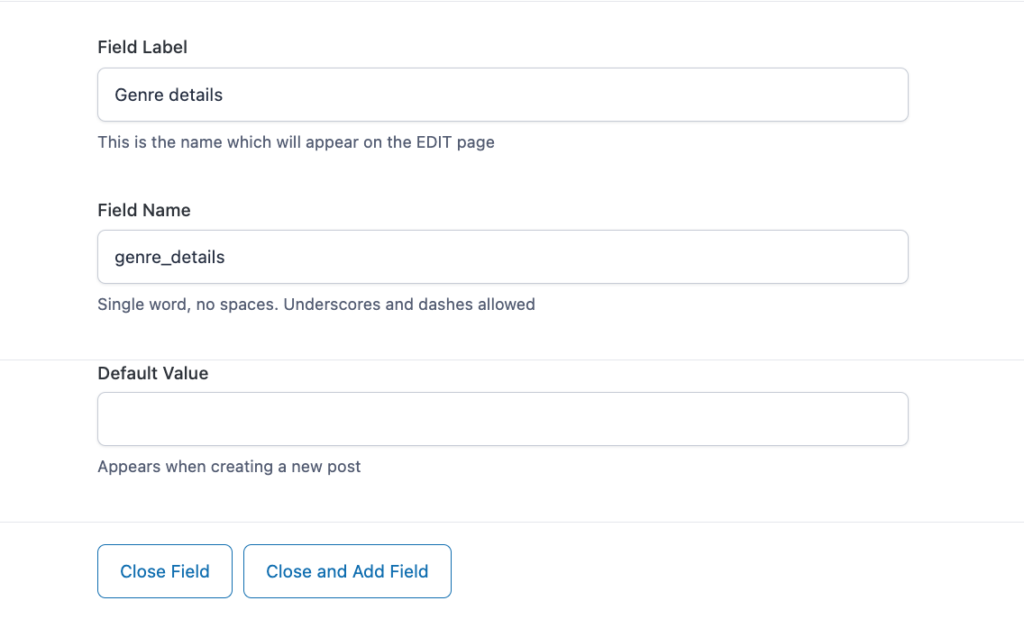
Click “Add Field” and choose your field type.
Choose a label and name for your field. You can also give it a default value.
Give your field group a name (like “Genre Details”).
Under “Location Rules,” select Taxonomy > is equal to > Genre.
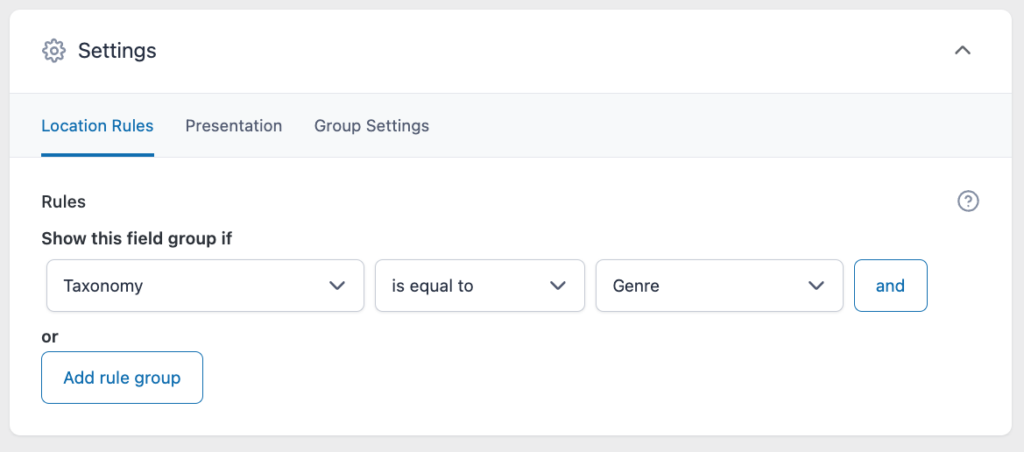
Save the field group.
When working with hierarchical taxonomies (like your movie genres), remember that child terms don’t automatically inherit parent fields. Each term gets its own field values. This means if you have an “Action” genre with “Spy” and “Superhero” as child categories, each one needs its own image and color settings.
For non-hierarchical taxonomies (like movie tags), focus on keeping your field data simple and minimal. Too many fields can slow down your site since WordPress loads this data frequently.
Some tips to avoid common problems:
- Test your field setup with a small number of terms first.
- Consider using ACF’s load_value and update_value filters to modify how field data is stored.
- Always back up your field data before merging or deleting terms.
- Use ACF’s built-in validation to ensure data consistency.
Implementing field display settings
How you configure your taxonomy field display settings affects two crucial aspects of your site: How easily your team can manage content in the admin area and how quickly your pages load for visitors. For example, if you set up genre fields with clear labels and organized grouping, your content team can quickly add new movies and update existing ones. But poor field organization can lead to confusion and data entry errors.When fetching these custom fields, use get_field() with the proper taxonomy prefix. For movie genres, you’d use:
$genre_data = get_field('field_name', 'genre_' . $term_id);To maintain smooth performance, especially for sites with lots of movies, consider these technical approaches:
- Cache commonly accessed term data like genre descriptions or images.
- Structure your conditional logic to minimize database queries (for example, only load special genre features when needed).
- Use field dependencies wisely (like only showing certain fields for main genres, not subgenres).
For complex taxonomies, set up validation rules that make sense for your content structure. This might mean making certain fields required for parent genres while keeping them optional for subgenres or ensuring genre descriptions meet minimum length requirements.
Pro tip: For high-traffic archive pages, consider storing frequently accessed genre data (like images or style settings) in post meta. While this creates a small duplicate of data, it can significantly speed up page loading times when visitors browse by taxonomies.
Managing taxonomy data efficiently with Admin Columns
Admin Columns is a powerful tool for managing your site’s taxonomies when integrated with Advanced Custom Fields. Rather than clicking into individual genre or tag entries to update their fields, you can handle everything directly from your list table views.
For example, you can quickly filter data by any custom field – like finding all cars with a particular body type that haven’t yet been sold.
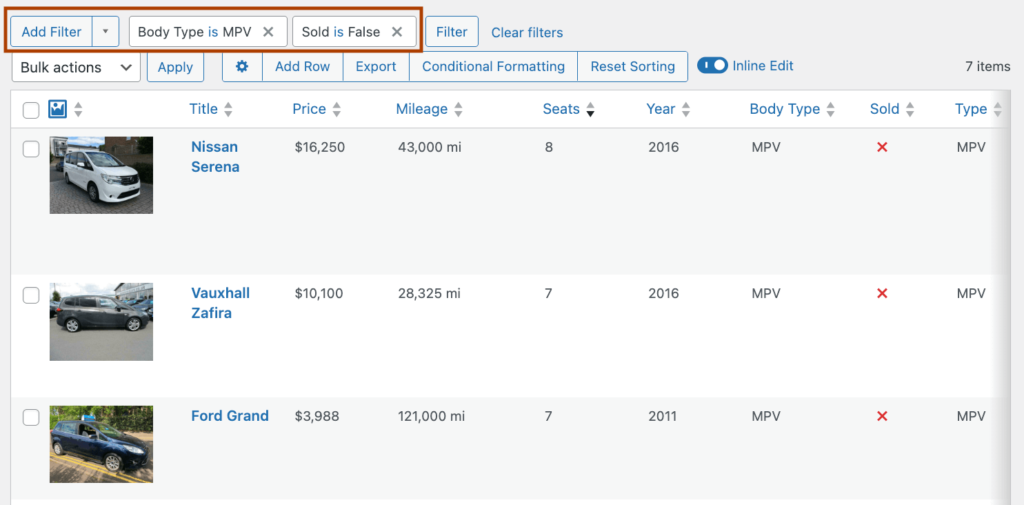
The smart filtering interface makes it easy to combine multiple conditions so you can pinpoint the exact product, post, or item you’re looking for, no matter how big your database is.
The bulk editing capabilities are particularly useful for large databases.
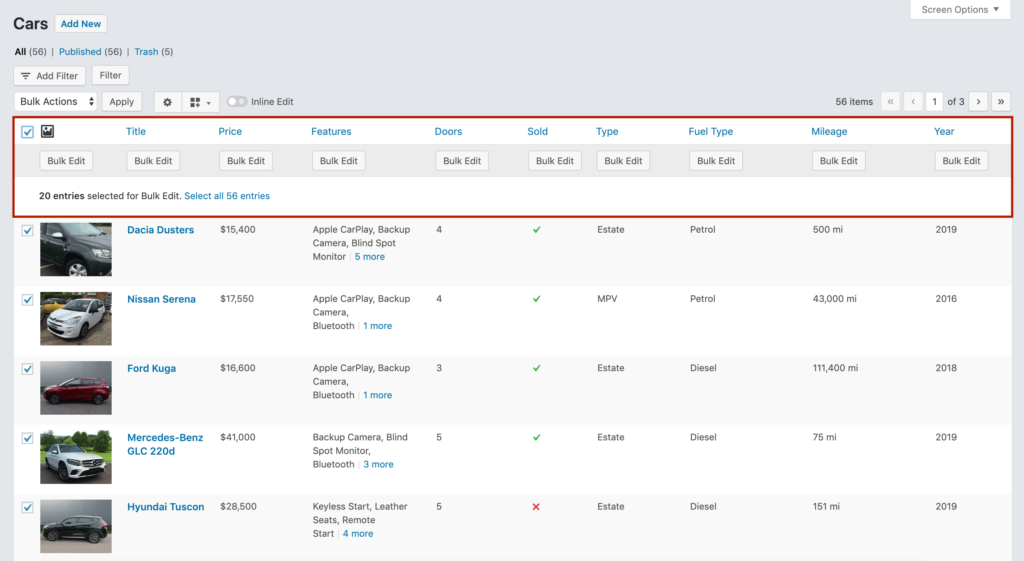
With just a few clicks, you can update unlimited fields, and unlike WordPress’s default bulk settings, you’re not limited to the number of items shown on the page. Instead, you can choose all entries.
Besides that, in your list table views, Admin Columns lets you:
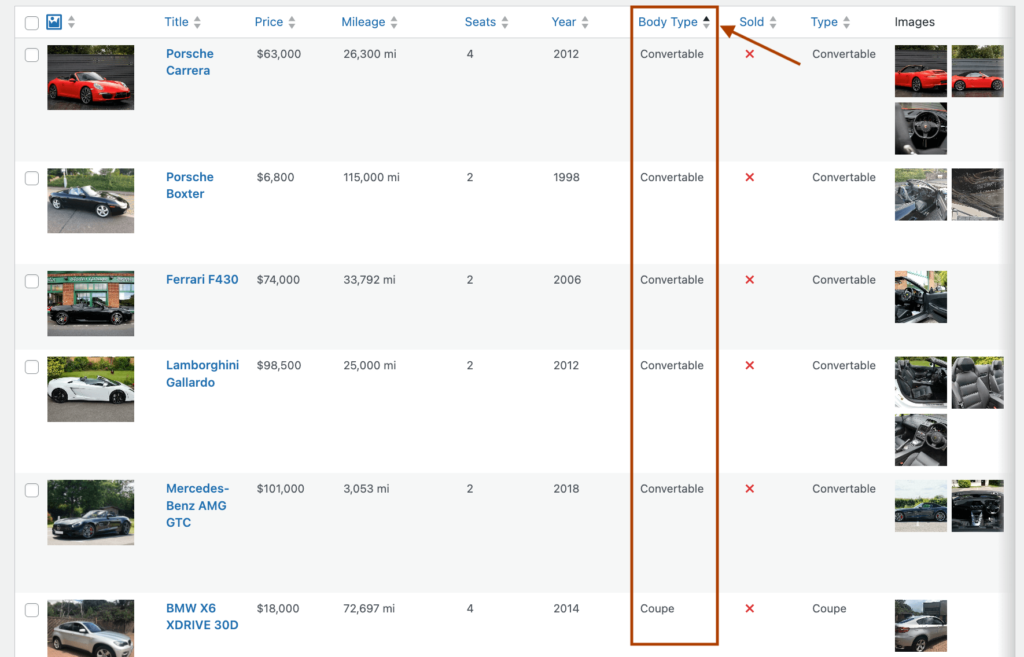
Display your ACF fields as sortable columns.
Filter terms using any field data you’ve added through ACF.
Edit field values directly from the list view.

Export your taxonomy data with all custom fields included.

For large sites running on a multisite network (for example, if you have separate sites for different regions), Admin Columns handles synchronized taxonomy management across all your sites. This ensures all the data stays consistent whether visitors are browsing on your US, UK, or other regional sites.
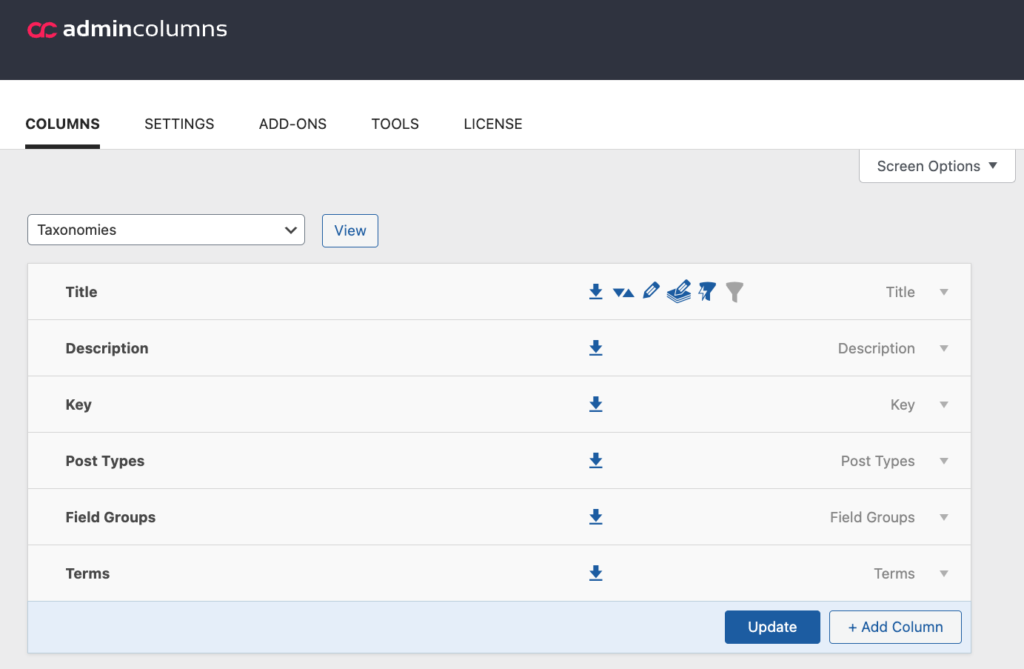
To set this up, just add your ACF fields as columns in the taxonomy list view through Admin Columns’ settings, and you’ll be able to manage all your custom data from one central interface.
Take control of your taxonomy management today
Managing taxonomies at scale doesn’t have to be complicated. Whether you’re handling hundreds of interconnected movie genres or maintaining consistent metadata across your film categories, Admin Columns, when combined with ACF, gives you the tools to manage it all efficiently.
Gone are the days of clicking through endless screens to update your taxonomy data. Instead of bouncing between different WordPress admin pages, you can edit your ACF fields right from the list view. Need to update the visual styles for multiple subgenres? Just select them all and make the changes in one go.
Admin Columns helps you:
- Edit taxonomy fields directly from your overview screens.
- Create custom views that show exactly the data you need.
- Filter and sort terms using any of your custom fields.
- Manage relationships between parent and child terms easily.
The combination of ACF and Admin Columns transforms how you work with taxonomies in WordPress. Instead of working with basic terms and descriptions, you get a powerful system for organizing and managing your movie database exactly how you want it.
Ready to make taxonomy management easier? Try Admin Columns today and take control of your content organization.
Get Admin Columns Pro
Effortlessly sort, filter, edit, export, and organize content in the WordPress admin.
